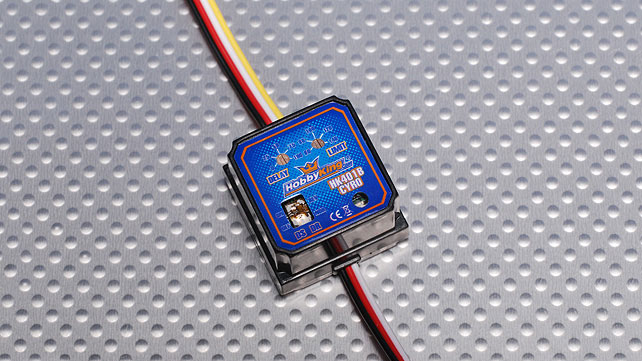
The first time I used a gyro on an airplane was on a DWFoamies Yak 54 (which has now been added to the RIP list due to a bad servo horn, read more about it here). The gyro I used was a $12 Hobbyking favorite, the HK 401B. The only downside of using this gyro instead of a brand-name one is that it needs to be modified and enhanced a bit before use. Sergio Salvi explains:
Two major problems were reported in the G401B forum threads:
The gyro circuit board is not firmly attached to the plastic case, causing problems to the gyro operation.
The solder joints of the tiny switch for digital/analog/normal/reverse mode can break off the board when flipping the switches.
Items required:Hot glue gun (I used a small 10W dual temp gun)
Small piece of soft foam – 2.5cm x 2.5cm, about 0.8cm thick (1″ x 1″, 1/3″ thick)
He explains in detail the steps required to fix this plane, but here is an instructional video that will show you what to do exactly, step-by-step, to make this gyro usable.
Flying the DWFoamies 40″ Yak 54 with the gyro on was awesome! Hovering almost too easy and knife edges were clean a piece of cake to perform. Just remember to set the servo switch to the type of servo you’re using. I had it on digital with a cheap 9G servo and it fried it after about a minute. Beware!

Leave a Reply